1. Preparation
1.1 Create your DiBooq Booking Website
First, create your DiBooq Booking Website. The setup usually takes only 5–10 minutes.
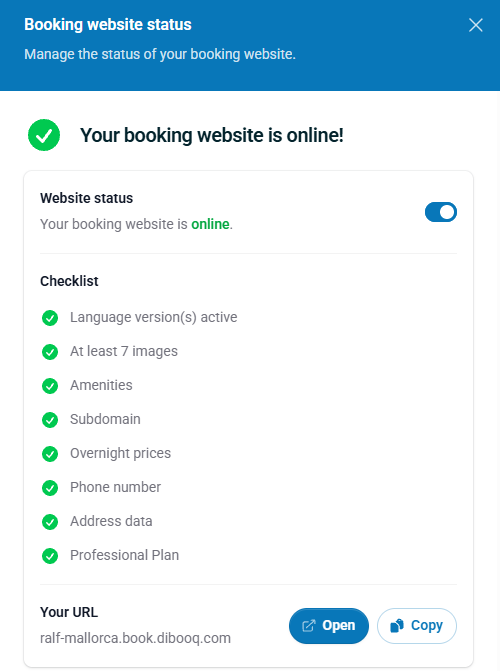
Once your Booking Website is online (see screenshot), you can start creating your DiBooq Booking Widget.
You have two options for embedding the widget on your own website:
- Embedded Widget (iFrame): The Booking Widget is embedded directly into your website.
- Popup Widget (Button with Overlay): A button opens the Booking Widget in an overlay, allowing visitors to stay on your website.
SEO Tip
Technically, the DiBooq booking widget links to your own booking website, thereby creating a backlink to your own domain. This can positively affect your SEO. Therefore, when creating your DiBooq booking website, choose keywords that are as relevant as possible for your DiBooq subdomain(s).
1.2 Check which technology your existing website uses
Our Booking Widget has already been successfully integrated into many different types of websites, including:
- Custom-built websites (e.g. HTML or PHP websites)
- WordPress
- Website builders such as Squarespace, Wix, Jimdo, and others
Note on Jimdo
Jimdo offers two different website products. The booking widget can only be integrated with Jimdo Creator, since that platform allows you to embed custom HTML and JavaScript code (code snippets).
In the Jimdo Website Builder (formerly Dolphin), external code snippets or widgets cannot be integrated. Therefore, integrating the booking widget there is currently not possible.
In general, the widget can also be used with other CMS or website platforms, provided they support integrating custom HTML and JavaScript code.
2. Create Your Booking Widget (Code Snippet Generator)
Once you have created your DiBooq Booking Website, open the Code Snippet Generator using the following link:
https://tools.dibooq.com/code-generator.html
There you can configure your Booking Widget and generate the individual code required to embed it on your website.
-
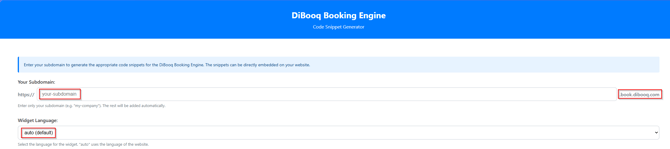
Input Field: Your Subdomain
Enter the subdomain you selected when creating your DiBooq Booking Website.
Important: Enter only the subdomain name – without .book.dibooq.com.
Example:
If your Booking Website is available at vacationrental.book.dibooq.com, simply enter: vacationrental
-
Dropdown: Widget Language
Auto (Default) automatically uses your website's language. To do this, the widget reads the lang attribute defined in your website's HTML header.
Depending on your website technology or the CMS you are using, this language attribute may not always be accessible. In that case, the Booking Widget may not automatically display in the correct language.
If this happens, you can select a fixed language using the Widget Language option. The generated code snippet will always open the Booking Widget in the selected language, regardless of your website's language.You can choose from: German, English, Spanish, French, Portuguese, Croatian, Italian or simply keep the default setting: Auto (Default)
-
Input Field: Button Text
Here, you can define the label for the button that opens the Booking Widget.
The text you enter will be displayed on the button when the Modal Widget is used.
-
Input Field: Heading
Here you can define the heading displayed at the top of the overlay above the Booking Widget.
If your website features multiple properties, you can, for example, enter the name of the property whose Booking Widget you want to open. This allows your guests to immediately recognize which property they are booking.
-
Input Field: Subheading
Here, you can define additional text displayed directly below the heading in the overlay.
Use the subheading for a short description, an important notice, or a personal message for your guests.
-
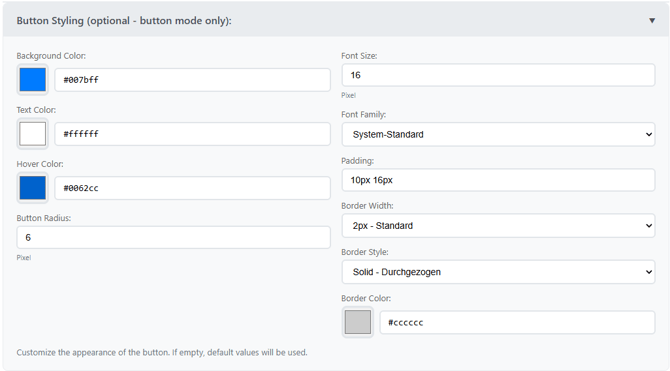
Button Styling
Here you will find various customization options for the button that opens the Booking Widget as an overlay.
This allows you to match the button to your website's design.
2.1 Create a Modal Widget (Button with Overlay)
In the preview, you can see how the button will appear on your website using the settings you selected.
You can click the button directly in the preview. This will open the overlay exactly as it will appear on your website.
Once you are satisfied with the settings, click Code Snippet to generate the embedding code.
Code with Inline Styling
On the left-hand side, you will find the code with integrated CSS (inline styling).
This option is ideal if you only want to embed the Booking Widget once on your website. Simply copy the generated code and insert it where you want the widget to appear.
Code with Separate CSS
On the right-hand side, you will find the code with the CSS separated from the widget code.
This option is recommended if you want to use the Booking Widget multiple times on your website.
You only need to add the CSS to your website once, for example, as Custom CSS in WordPress. After that, you can simply insert the shorter widget code wherever you want the Booking Widget to appear, without repeating the CSS.
This makes maintenance easier and ensures that all Booking Widgets on your website share the same design.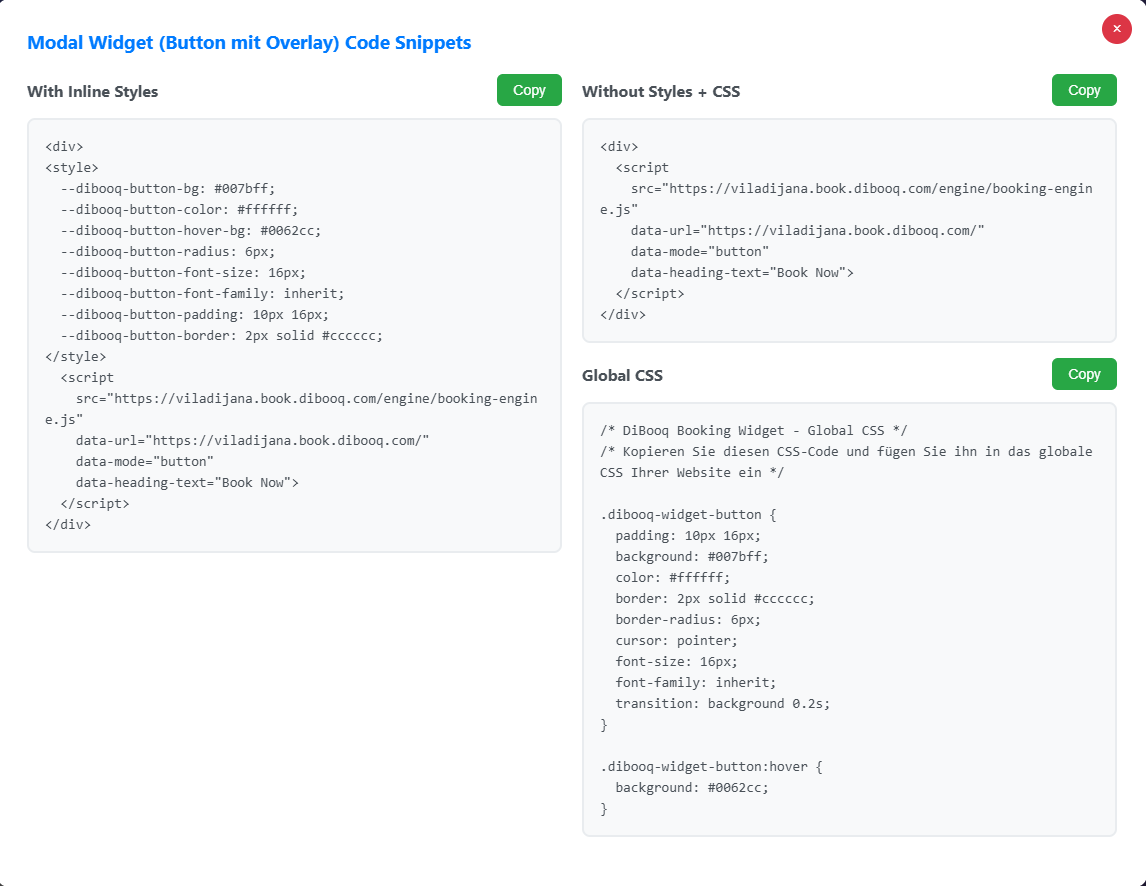
2.2 Create an Embedded Widget (iFrame)
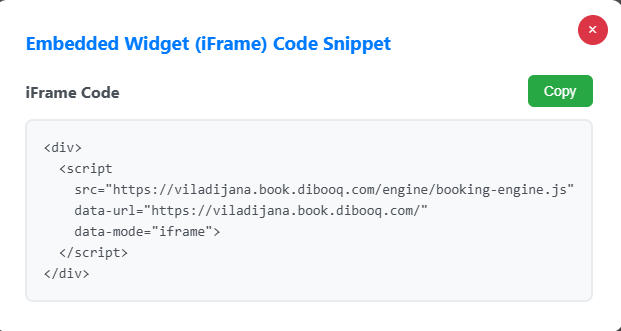
The preview shows you exactly how the embedded Booking Calendar will appear on your website. This allows you to verify that the widget loads correctly before embedding it.
If the Booking Calendar is displayed correctly in the preview, click Code Snippet to generate the embedding code.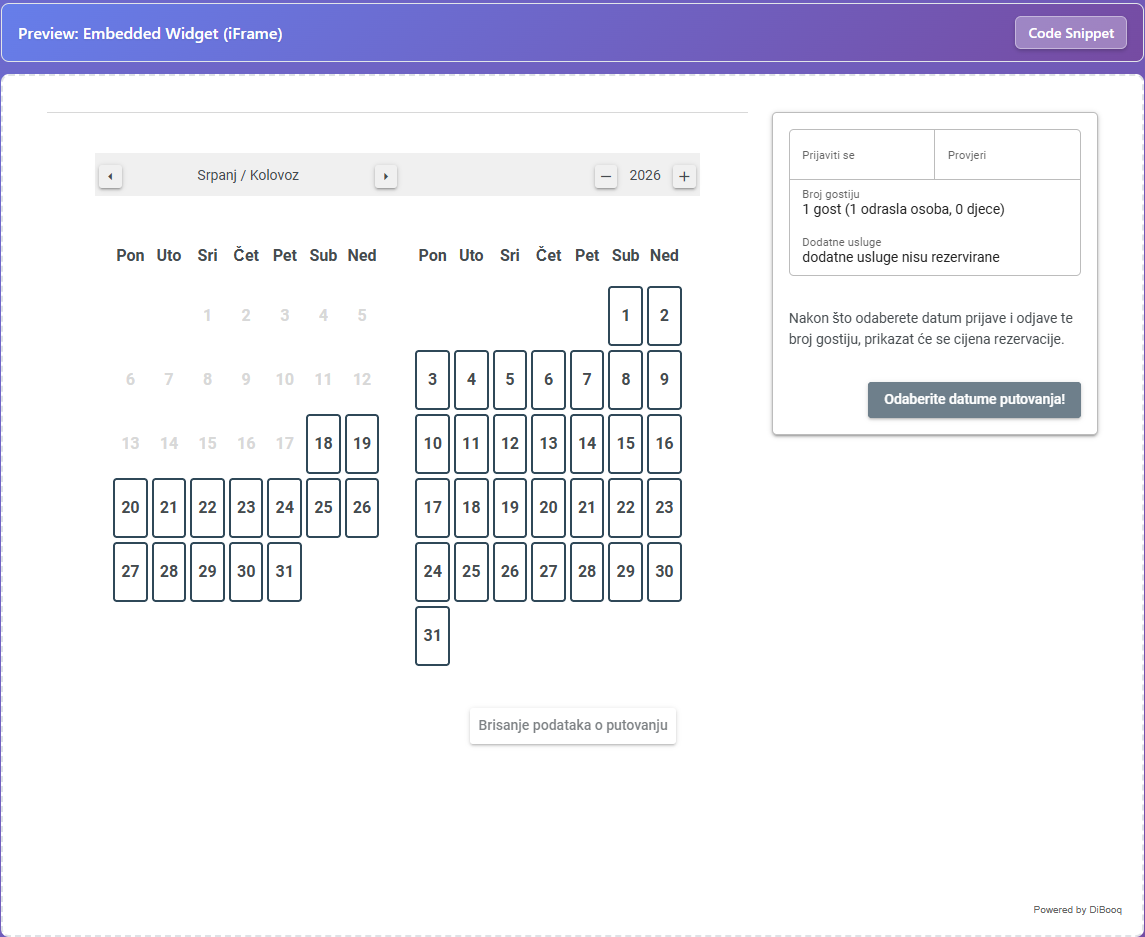
You can then insert the generated code into the desired location within your website's HTML.
For WordPress, website builders, or other CMS platforms, there is usually a dedicated element for this purpose, such as Custom HTML, HTML, Embedded HTML, or Embed Code.
Simply paste the generated code into the appropriate element.